
Instantly step by step: how to launch your first cold email campaign
A practical guide to building your first cold email campaign with Instantly: connect your account, warm up your domain, import leads and launch your sequence without ending up in spam.
Updated: 2026-08-15
 Lucía Ferrer·Analyst · Cold email and deliverability
Featured tool
Instantly
Your first Instantly campaign, in summary
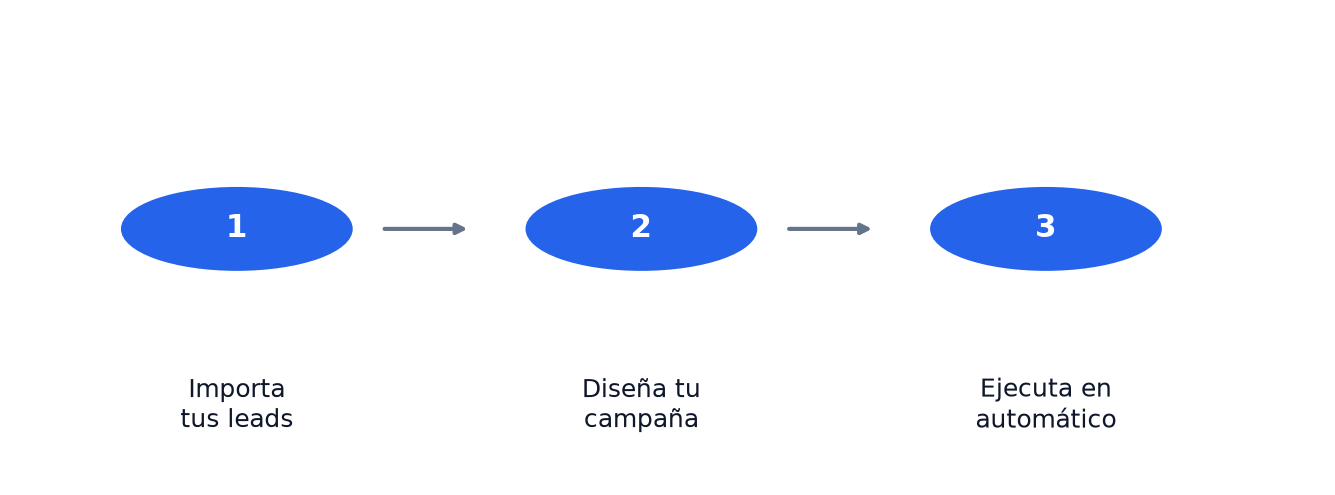
Instantly is a cold email platform that lets you connect unlimited email accounts, warm them automatically and launch follow-up sequences. For your first campaign you need your own domain, an email account, a lead list and about fifteen minutes of setup.
In this guide I walk you through the whole process step by step, including the mistakes I made at the beginning so you don't repeat them.
Before you start: what you need
If you want to try it yourself, create a free Instantly account (14-day free trial) and follow along while you read.
Instantly doesn't do magic. You need a minimum base for your emails to reach the inbox.
First, your own domain. Don't send cold email from a Gmail or Hotmail account, because the reputation isn't yours and the spam risk shoots up. Buy a domain with a variation of your brand, something like mydomain.io or contactmydomain.com.
Second, an email account on that domain. Google Workspace or Microsoft 365 work well. One account is enough to start, although Instantly shines when you connect several.
Third, a lead list with verified emails. You can get them with a tool like Hunter or import them from your CRM.
Step 1: set up SPF, DKIM and DMARC
This is the step almost everyone skips and the one that makes the biggest difference. SPF, DKIM and DMARC are three DNS records that tell mail servers your emails are legitimate and not spoofed.
Without these records, your emails look like phishing to spam filters. It doesn't matter how good your message is if it never gets opened.
The exact process depends on your domain provider, but it's always the same. You copy the records Google or Microsoft gives you and paste them into your domain's DNS panel. If you don't know how, your provider's support will sort it out in minutes.
Step 2: connect your account in Instantly
Once inside Instantly, go to the email accounts section and add yours. The platform connects via IMAP and SMTP, so you'll need your email credentials.
Instantly guides you through the process and checks that the connection works. If something fails, it's usually the app password or an access permission from Google or Microsoft. Take your time here, because a badly connected account ruins your campaign.
Step 3: warm up the domain
This is Instantly's strong point and the reason many people choose it over other tools. Automatic warmup sends and receives emails gradually to build sending reputation before you launch anything real.
Warming up takes time. Ideally two or three weeks before your first serious campaign. I know you want to launch now, but skipping warmup is the fastest way to burn your domain.
Keep warmup active during the whole campaign, not just at the start. Reputation needs care every day.
Step 4: import your leads
Go to the leads section and upload your list. Instantly accepts CSV files, so export your contacts from your usual source and adjust them to the columns the platform asks for.
Review the list carefully before importing. Remove duplicates, generic addresses like info@ or contact@ and any email that looks invalid. A dirty list is the number one cause of high bounce rates, and bounces sink your reputation.
If you don't have a list, Instantly has its own lead finder with filters for job title, industry and company size. Use it to get your first few hundred contacts without leaving the tool.
Step 5: write and launch your sequence
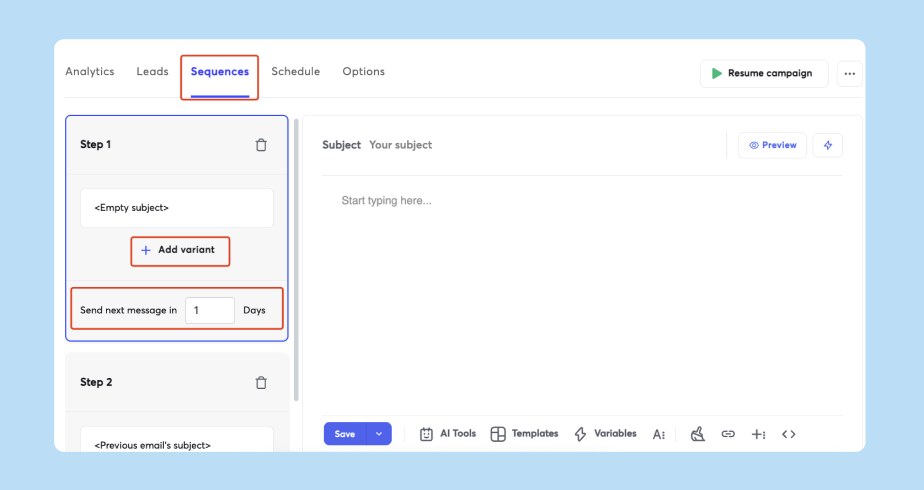
A sequence is a series of emails sent on a fixed cadence if the person doesn't reply. A typical structure is three or four emails.
The first email, short and direct, raises a concrete problem. The second adds a data point or a case that reinforces the first. The third offers something useful without asking for anything in return. The fourth closes the conversation with a brief message.
Write like a person, not like a brochure. No generic greetings or endless paragraphs. Three or four sentences per email is more than enough.
Set the waiting times between emails. Three or four days between each step is a good starting point.
Step 6: check the metrics
Don't launch and forget. Every few days check three numbers: open rate, reply rate and bounce rate.
If bounces climb above two percent, something is wrong with your list. If opens are high but nobody replies, the problem is the message or the offer. If nobody opens, review your subject lines and your domain reputation.
Metrics are your compass. Change one variable at a time and you'll see the effect clearly.
Mistakes I made
The first was launching without warming up the domain. My first emails went straight to spam and it took me weeks to recover the reputation. Don't do it.
The second was writing long emails. Nobody reads a ten-line paragraph from a stranger. Short emails always get more replies.
The third was not verifying the list. Bounces ate my reputation and I had to start from zero with another domain.
Final verdict
Instantly is one of the best options for cold email in 2026, especially because of the automatic warmup and the unlimited email accounts. The learning curve is gentle and in one afternoon you have your first campaign ready.
The key isn't the tool, it's the three previous steps. Your own domain, SPF, DKIM and DMARC configured, and a clean list. If you take care of that, Instantly does the rest.
My advice. Start with a single account, warm up the domain for two weeks and launch a three-email sequence to a small, verified list. Learn from the metrics and scale later.
Written by
Lucía Ferrer
Analyst · Cold email and deliverability
Former sales operations at a growth agency. She spends her days between SPF, DKIM and warm-up pools so your emails reach the primary inbox.
Specialty: Cold email, Instantly, deliverability, domains